Sunday 23 June 2013

DIY PAPER PLANE MOBILE

Bos is now getting to an age where he is paying far more attention to the world around him, so this week I thought I would add to his sky-themed cot area with a DIY paper plane mobile.

MATERIALS:
- Coloured paper or pages from a magazine
- Plain white paper
- Scissors
- Thin nylon thread
- A ribbon to hang them from

First I selected some colourful pages from a magazine and cut them into rectangles measuring 20cm x 13.5cm. I ended up choosing to use only the teal and pink page for my planes.


Turns out I could not figure out how to fold a cute plane! So I used this tutorial, and here is another good one.


I created the clouds from simple white printer paper, but if you have light card that would be even better. Cut two identical clouds, find the centre of the cloud then down the middle of each, cut a slit to that middle point (half of the way down/up). On one go from the top, and the other from the bottom. Slot them together and they should align at the top. (You could also sew them together if you want to be real fancy).


They will then become 3D, and even using thin paper will hold their shape as above, and catch the breeze to spin in the air.

I made four planes and two clouds in total. I then threaded a needle with some clear nylon thread and used the needle to make holes in the top of each plane and cloud, threading the nylon through and knotting to secure. (Make sure on the clouds you go through both pieces of paper).

I was going to hang these of a piece of driftwood, but realised I needed the mobile to be really light to hang from a sheet suspended above the cot, so I simply strung them along a piece of blue ribbon and pinned that to the sheet.


And done!

Mx


Tuesday 14 May 2013

BEST EVER CHOC CHIP COOKIES


So although this is not a baking blog, I thought I would share my best EVER chocolate chip cookie recipe. These are delicious, Subway-style, soft, chewy biscuits that just melt in your mouth... one is never enough!

My good friend Keri recently started an amazing food blog called The Goodness, basically this recipe is the antithesis of any you will find on there! But forget about your waistline for a minute, preheat your oven and get ready to bake.

CHOCOLATE CHIP COOKIES

 2 cups flour
 1/2 teaspoon baking soda
 1/2 teaspoon salt
 170g unsalted butter, melted
 1 cup firmly packed brown sugar
 1/2 cup white sugar
 1/2 teaspoon vanilla extract
 1 egg
 1 egg yolk
 2 cups milk chocolate buttons

Preheat the oven to170 degrees C (not fan-forced). Grease baking trays or line with baking paper.

Mix together the melted butter, brown sugar and white sugar. Beat in the vanilla, egg, and egg yolk with an electric beater until light and creamy. Sift in the dry ingredients and mix with a spoon until just blended. Stir in the chocolate.  buttons, and chill in the fridge for 15 minutes.

Make balls of dough and drop onto the prepared baking trays. Place them about 3 inches apart. (The main thing is not to flatten them at all, as they will spread by themselves).

Bake the cookies for exactly 15 in the preheated oven. Transfer to wire racks to cool completely. This usually makes about 30 medium sized cookies.

Enjoy!

Mx

Thursday 9 May 2013

MY LITTLE BOY

But here's the project I'm most proud of :) Bos Alexander Veysey was born March 4, he is now 9 weeks old and he is such a treasure.


Mx


LOGO DESIGN


This week I finalised a logo for my friend's new Wanaka hair salon - Mountain Air Hair Studio.
It was heaps of fun putting it together and she loves it which is awesome!


Mx

DESIGN TIME

Now that I am on maternity leave I have challenged myself to put more time and energy into my design work, trying to get more experience under my belt. It is a LOT daunting putting myself out there... but here goes!


Mx

Monday 22 April 2013

DIY CHAIN NECKLACE


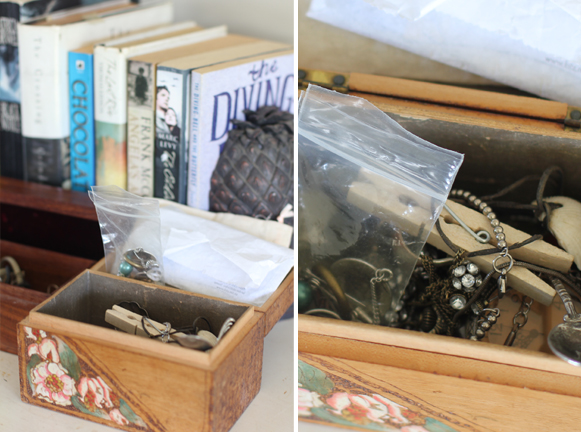
In a recent edition of Fashion Quarterly I saw this ridiculously expensive chain necklace. I thought I would make one for myself, so I raided my box full of random jewellery bits and pieces to put it together.


I didn't have the right piece of chunky chain on hand, so decided to do it with what I did have which was a really short fine chain and some larger oval chain. (You should be able to get hold of lengths of fine chain, clasps and chunky chain from a craft store to make one for yourself.)


I joined the junky chain into a circle and folded that in half to start, then attached loops at each end. I then attached these to the fine chain.


Voila! You could make a much nicer one of these using custom purchased pieces, and make a beautiful necklace for a fraction of the cost of the original. I would definitely put the clasp at the back of the neck if I was building this from purchased pieces too :)


Mx